How to Remove Deep Scratches from Stainless Steel
Table of Contents
- Introduction
- Why Do Scratches Show Up?
- Can Deep Scratches Be Removed?
- What You’ll Need
- Step 1: Clean the Area
- Step 2: Identify the Grain
- Step 3: Sand the Scratch
- Step 4: Polish It Back to Shine
- Step 5: Protect the Surface
- Common Mistakes to Avoid
- What If the Scratch Is Too Deep?
- Other Related Problems
- Final Thoughts
Introduction
When you first buy something made of stainless steel—whether it’s a shiny fridge, a sink, a watch, or even a metal rod—it looks sleek, modern, and smooth. But over time, scratches start to appear. At first, they’re light, barely visible. Then one day, you notice a deep scratch that stands out like a scar. It doesn’t just affect how it looks, but it can also make cleaning harder because dirt can settle inside those grooves.
If you’re wondering how to deal with deep scratches on stainless steel, don’t worry—you’re not alone. Many people face this issue, and luckily, there are simple ways to fix it at home without having to replace the entire item. Let’s walk step by step through how you can bring back the shine.
Why Do Scratches Show Up?
Stainless steel is strong, but it’s not indestructible. Everyday things like keys, rings, cleaning sponges, or even moving pots and pans across a surface can leave marks. Deep scratches happen when something harder than the stainless steel scrapes across it with enough force.
Sometimes scratches are caused by trying to fix another problem—like removing rust on stainless steel the wrong way. If you use steel wool or harsh tools, you might end up with scratches instead of a smooth surface. That’s why knowing the right approach is so important.
Can Deep Scratches Be Removed?
Yes, but with a bit of effort. Light scratches are easy—they can usually be buffed out with a gentle cleaner or polish. Deep scratches, on the other hand, need more work. You’ll need to sand or grind the surface slightly, then polish it back to its shiny finish. The good news is, if you do it right, the scratch can become almost invisible.
What You’ll Need
Before jumping into the repair process, gather the right tools:
- Microfiber cloths – For cleaning and polishing.
- Sandpaper or sanding pads – Different grits, usually starting around 400 and working up to 1000 or more.
- A sanding block or tool – Keeps pressure even.
- Stainless steel polish or rubbing compound – Helps restore shine.
- Water spray bottle – To keep surfaces wet during sanding.
- Protective tape – To cover nearby areas you don’t want to scratch.
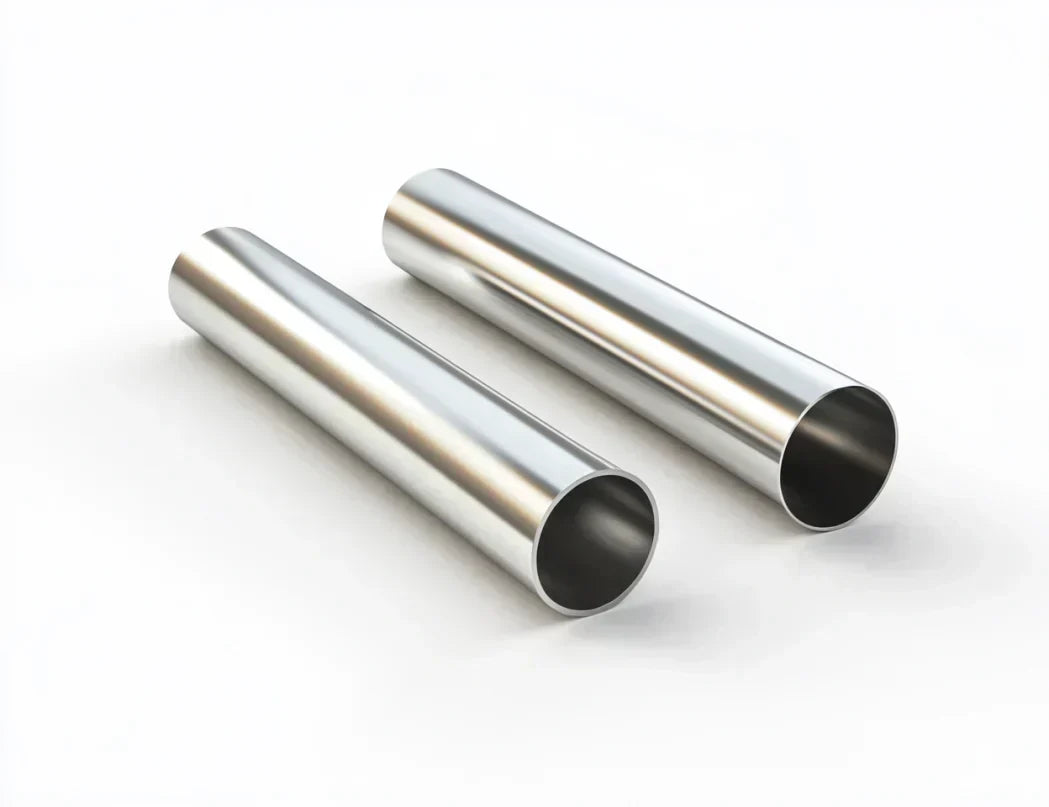
If you’re working on a piece of stainless steel shaped like a half round rod or tube, you’ll need extra care to keep the sanding motion even so you don’t flatten out the curve.
Step 1: Clean the Area
Start with a clean surface. Dirt and dust can make sanding worse by adding extra scratches. Use warm water with a mild dish soap, then wipe it down with a microfiber cloth. Dry it completely.
If the scratched area also has rust, take care of that first. Many people ask about cleaning rust off of stainless steel, and the simplest way is to use baking soda mixed with water into a paste. Gently rub it with a soft cloth, rinse, and dry. Once the rust is gone, you’ll have a smoother surface to work on.
Step 2: Identify the Grain
Stainless steel has a “grain,” which is the direction of the tiny lines you can see when you look closely. It’s just like wood grain. Always sand and polish in the same direction as the grain. If you go across it, you’ll create new scratches that are much harder to fix.
Step 3: Sand the Scratch
This is the part that feels a little scary, but it works.
- Wrap a piece of sandpaper around your sanding block. Start with a medium grit, like 400.
- Lightly spray water on the scratched area to keep it wet. This reduces friction and prevents overheating.
- Sand in the direction of the grain. Go slow and steady.
- Wipe the area clean to check progress.
If the scratch is still visible, move to a finer grit sandpaper, like 600 or 800, and repeat. Each round removes the marks from the previous grit, making the surface smoother and smoother.
When you’re working on round pieces—like a half round rod—make sure to sand evenly around the curve, not just in one spot. That way, the shape stays consistent.
Step 4: Polish It Back to Shine
Once the scratch is gone and the surface feels smooth, it’s time to restore the shine. Use a stainless steel polish or a rubbing compound.
- Apply a small amount to a microfiber cloth.
- Rub it in the direction of the grain.
- Buff until it shines.
This step not only makes the area look new but also helps protect it from future scratches and stains.
Step 5: Protect the Surface
After you’ve done all that work, you’ll want to make sure the scratches don’t come back quickly. Here are some tips:
- Avoid abrasive cleaners or scrubbers. Stick with microfiber or soft sponges.
- Wipe spills quickly, especially salty or acidic ones.
- For kitchen appliances, consider using a stainless steel protective spray. It leaves a thin layer that reduces fingerprints and small scratches.
Common Mistakes to Avoid
When people try to fix stainless steel themselves, they sometimes make things worse. Here are a few mistakes to avoid:
- Sanding across the grain – This will create a mess of cross scratches.
- Using steel wool – It leaves behind tiny bits of steel that can rust later.
- Skipping grits – If you jump from coarse sandpaper to very fine, you’ll still see sanding marks.
- Not cleaning first – Sanding over dirt or dust can add new scratches.
What If the Scratch Is Too Deep?
In rare cases, a scratch can be so deep that you’d need professional help. For example, if you’ve got a commercial kitchen sink or industrial surface, it might make more sense to call in someone with the right equipment. But for home appliances, rods, or decorative pieces, the method we’ve covered usually works well.
Other Related Problems
Fixing scratches often brings up other related issues. For example:
- Some people notice that while working on scratches, they uncover rusty spots. That’s where knowing about removing rust on stainless steel the right way comes in handy.
- Others ask if sanding makes rust more likely. The answer is no—as long as you finish with polishing and keep the surface clean, your stainless steel should stay strong.
- Deep scratches can also trap dirt, which is why learning about cleaning rust off of stainless steel goes hand in hand with scratch removal. Both problems are connected because they affect how clean and shiny the steel looks.
Final Thoughts
Deep scratches on stainless steel can feel frustrating at first, especially on something expensive like a fridge, a sink, or even a decorative half round rod in your home. But the good news is, with a little patience, the right tools, and the right technique, you can make them disappear—or at least blend in so well that nobody notices.
Remember, the key steps are:
- Clean the surface.
- Sand in the direction of the grain, starting with medium grit and working your way up.
- Polish until shiny.
- Protect it for the future.
By following this simple process, you’ll not only remove scratches but also keep your stainless steel looking like new for years to come.
So next time you see a scratch, don’t panic—it’s not the end of the world. With a little effort, you’ll have it looking smooth and shiny again.