How Is Brushed Stainless Steel Made?
Table of Contents
- Introduction
- What Exactly Is Brushed Stainless Steel?
- Step 1: Starting With Stainless Steel
- Step 2: The Surface Preparation
- Step 3: The Brushing Process
- Step 4: Controlling the Finish
- Step 5: Cleaning and Protecting
- Does Brushing Change the Strength?
- How Do You Know It’s Stainless Steel?
- Where Do We See Brushed Stainless Steel?
- Advantages of Brushed Stainless Steel
- Disadvantages of Brushed Stainless Steel
- Everyday Care for Brushed Stainless Steel
- Final Thoughts
Introduction
When you walk into a modern kitchen, a fancy hotel lobby, or even look at your new fridge, chances are you’ve noticed that smooth, matte, silvery finish that feels almost soft to the touch. That’s brushed stainless steel. It’s one of the most popular finishes for appliances, furniture, and building materials today because it looks classy, hides fingerprints better than shiny surfaces, and gives off a professional vibe.
But have you ever wondered how brushed stainless steel is actually made? Is it just regular stainless steel that’s been scrubbed with sandpaper? Or is there more science behind it? In this blog, we’re going to break it down step by step in plain, everyday language so you understand not only how it’s made but also why it’s so widely used.
What Exactly Is Brushed Stainless Steel?
Before we talk about the process, let’s clear up what “brushed” means. Brushed stainless steel is just stainless steel that’s been polished in a way that leaves fine, consistent lines on the surface. These lines give it that signature satin or matte look.
Instead of being shiny and mirror-like, brushed stainless has a softer glow. The brushing process doesn’t make it weaker; it just changes the surface finish. Think of it like combing your hair—your hair is still the same, but it looks and feels different after brushing.
Step 1: Starting With Stainless Steel
Brushed stainless steel always starts with regular stainless steel. Stainless steel itself is made by mixing iron with chromium and other elements. The chromium is what makes it resist rusting.
Now, if you’re curious whether that shiny piece of metal you have at home is stainless steel, you can use simple tricks. For example, you can look up how to test if something is stainless steel. The most common way is to check if it attracts a magnet, but it’s not always that simple. Some stainless steels are magnetic, while others aren’t—so don’t rely on just one test.
Step 2: The Surface Preparation
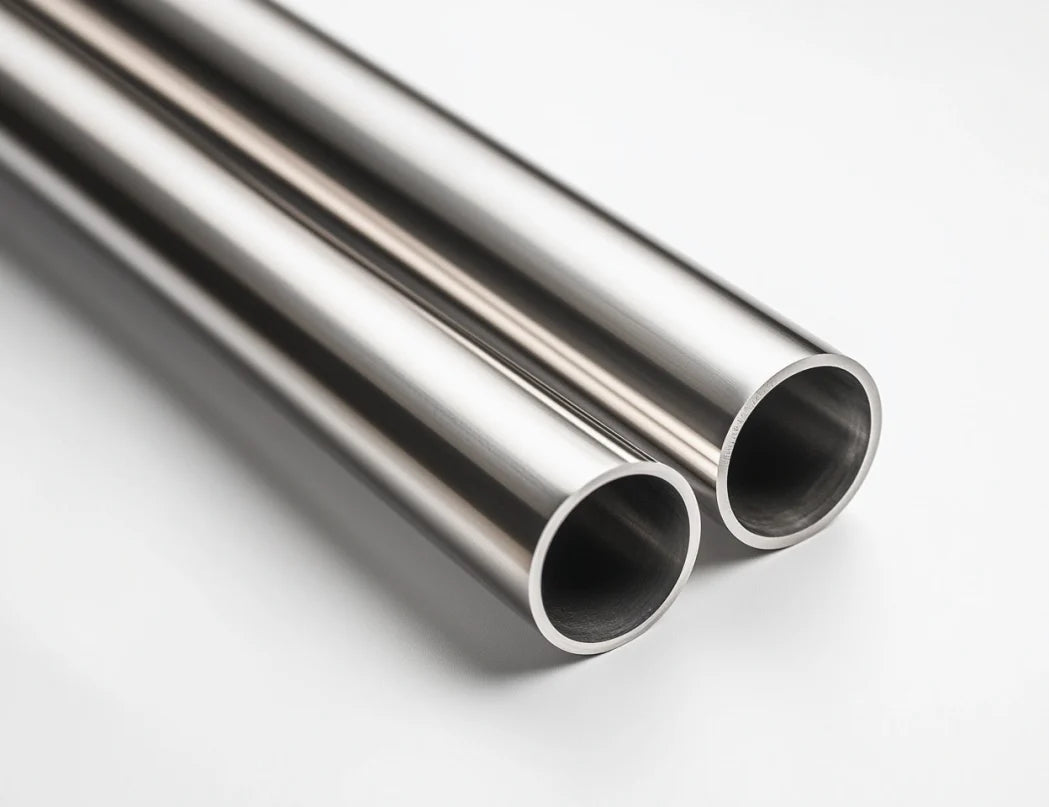
Once manufacturers have a sheet, bar, or even a stainless steel c channel (a C-shaped piece used in construction and frames), the brushing process begins.
The surface first needs to be cleaned so there’s no dirt, grease, or dust. If the metal isn’t perfectly clean, the brushing won’t come out even, and you’ll see patches or streaks. Cleaning usually involves rinsing with special solutions or even plain water and wiping it down.
Step 3: The Brushing Process
Here’s where the magic happens. To “brush” the surface, special abrasive belts or pads are used. These aren’t the kind of brushes you use on your hair, of course—they’re more like sanding tools. The stainless steel sheet or tube is run under these abrasive belts in one consistent direction.
The brushing leaves behind very fine lines, all running parallel. These lines are what create that silky matte look. The key is consistency. If the brushing goes in different directions, it won’t look smooth—it’ll look scratched instead of brushed.
Step 4: Controlling the Finish
Different industries like different types of brushed finishes. Some want it coarse, with lines that are more visible. Others want it very fine, with lines that are barely noticeable.
Manufacturers control this by changing the grit of the abrasive belt. A rough grit leaves deeper lines, while a fine grit creates a smoother, more delicate look. That’s why some brushed stainless steel looks more “industrial,” while others look softer, like on your fancy kitchen appliances.
Step 5: Cleaning and Protecting
After brushing, the stainless steel surface is cleaned again to remove any tiny metal particles left from the process. Sometimes, a thin protective coating is applied to help prevent fingerprints and scratches. This coating is invisible but makes the surface easier to clean.
If you’ve ever wiped down your fridge and wondered how to test if something is stainless steel or not, brushing can sometimes make it trickier to tell because brushed steel doesn’t shine like polished versions.
Does Brushing Change the Strength?
One common question is whether brushing makes stainless steel weaker. The answer is no. Brushing only affects the very top layer, so the strength, rust resistance, and durability stay the same.
For example, whether you’re working with stainless steel sheet, spring wire (thin, strong wire made of stainless steel used in springs), or even big construction pieces like beams and channels, brushing doesn’t change the core strength. It just changes the look and feel of the surface.
How Do You Know It’s Stainless Steel?
This is where the magnet test comes in. People often ask: does a magnet stick to stainless steel? The answer is: sometimes yes, sometimes no.
It depends on the type of stainless steel. Some grades are magnetic, and some aren’t. For example, 304 stainless steel (commonly used in kitchens) usually isn’t very magnetic. But 430 stainless steel (often used in cheaper appliances) is magnetic.
So if you put a magnet on your brushed stainless fridge door and it sticks, that doesn’t mean it’s fake. It just means it’s a different type of stainless steel.
Where Do We See Brushed Stainless Steel?
Now that you know how it’s made, let’s talk about where you’ll find it in real life:
- Appliances: Fridges, ovens, dishwashers—all love brushed stainless because it hides fingerprints better than shiny steel.
- Architecture: Elevators, handrails, and wall panels often use brushed finishes for a sleek, modern look.
- Furniture: Tables, chairs, and lamps sometimes use brushed stainless parts.
- Construction: Even heavy-duty pieces like a stainless steel c channel may be brushed for certain projects where looks matter as much as strength.
Advantages of Brushed Stainless Steel
- Hides fingerprints and smudges better than shiny surfaces.
- Modern look that fits into both home and commercial settings.
- Durable, since the brushing doesn’t weaken the steel.
- Versatile, used in kitchens, architecture, cars, and furniture.
Disadvantages of Brushed Stainless Steel
- Scratches show up more easily. Since the surface already has fine lines, any scratch that goes against the direction of the brushing will stand out.
- Harder to polish back to original look. Unlike shiny stainless, you can’t just buff out scratches—you need to re-brush it in the same direction.
- Cleaning streaks. If you’ve ever wondered how to remove streaks from stainless steel, you know it takes the right cleaner and cloth. Using the wrong method can make it look worse.
Everyday Care for Brushed Stainless Steel
If you have brushed stainless steel in your home, here are some tips:
- Always wipe in the direction of the grain (the brush lines).
- Use a microfiber cloth with a bit of water or mild soap.
- Avoid harsh scrubbing pads—they’ll ruin the brushed look.
- For tough spots, you can buy stainless steel cleaners designed for brushed finishes.
Final Thoughts
Brushed stainless steel is everywhere around us, and now you know why. The process may sound simple—clean, brush, and protect—but it takes precision to get that perfect satin look. Whether it’s your fridge, your elevator wall, or a spring wire product used in machinery, brushed stainless steel keeps things looking sleek while staying tough.
Next time you touch that smooth, matte surface, you’ll know exactly how it came to be—and maybe even impress a friend by explaining whether or not a magnet sticks to stainless steel.
Brushed stainless steel proves that sometimes, beauty is just a matter of direction—one brush stroke at a time.