How to Weld Stainless Steel at Home
Table of Contents
- Introduction
- What You’ll Need
- Step 1: Understand What You’re Working With
- Step 2: Cutting Stainless Steel
- Step 3: Cleaning the Metal
- Step 4: Holding the Pieces in Place
- Step 5: Let’s Weld!
- Step 6: Checking Your Weld
- Step 7: Polish and Protect
- Safety First!
- Common Mistakes and How to Avoid Them
- Final Thoughts
Introduction
Welding stainless steel at home might sound like something only experts can do. But the truth is, with the right tools, safety steps, and a little bit of patience, even a beginner can give it a shot. This guide will walk you through the basics using plain English — no confusing terms, just easy steps to help you get started.
Whether you’re fixing a broken chair leg, creating a cool metal project, or just curious about how it all works, this blog will show you how to weld stainless steel safely and effectively in your garage or backyard.
What You’ll Need
Before we jump into the how-to part, let's talk about what you’ll need. These are the basic things you should have:
- A welding machine (one that's good for home use)
- Welding helmet and gloves (for safety)
- Clamps (to hold your steel pieces in place)
- A clean work area (preferably well-ventilated)
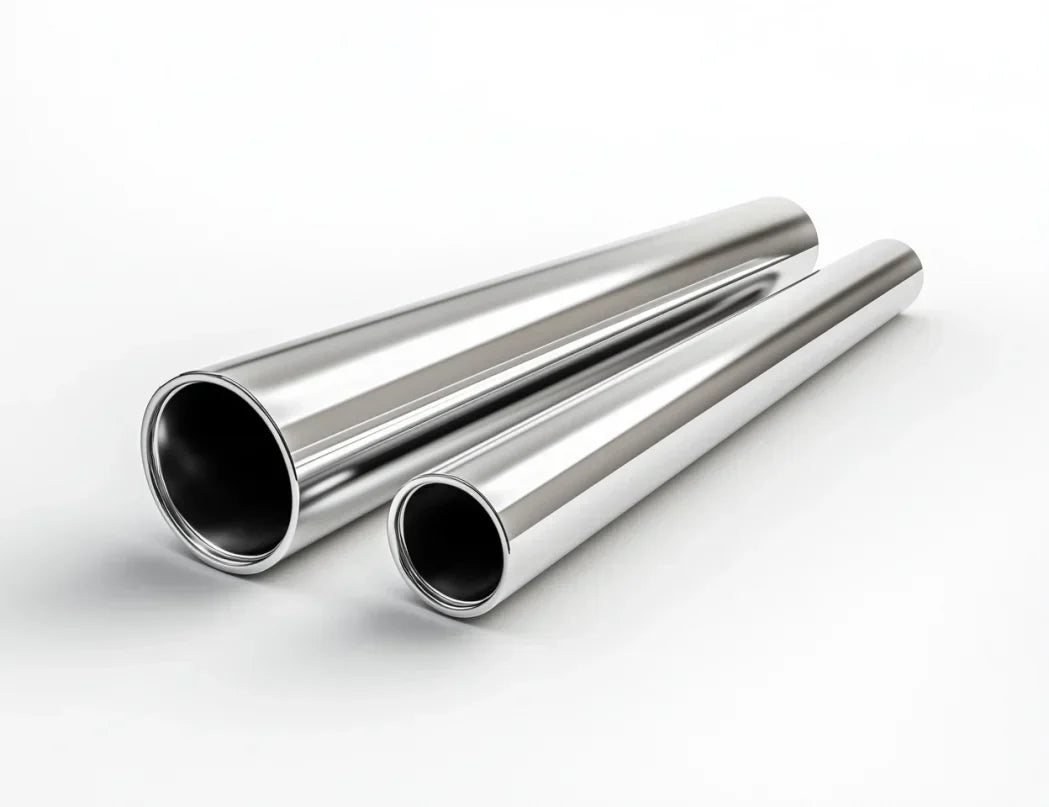
- Stainless steel pieces to weld
- A wire brush or sandpaper
- Safety gear (long-sleeved shirt, jeans, boots)
- A way to cut stainless steel (more on this later)
Don’t worry if you’ve never used a welder before. These days, many home welding machines are made for beginners. They come with simple instructions and are easy to handle.
Step 1: Understand What You’re Working With
Not all metals are the same, and even stainless steel has different types. But for home welding, most people are dealing with regular household items — kitchen racks, metal chairs, or small projects that use common stainless steel parts.
The important thing to know is that stainless steel reacts a little differently than regular steel when it gets hot. It’s more likely to warp (change shape) or change color if you’re not careful with heat. That’s why we’ll focus on keeping things cool and steady during the process.
Step 2: Cutting Stainless Steel
Before you weld anything, you’ll probably need to shape or size your metal. That means you’ll have to cut stainless steel. Depending on how thick the piece is, there are a few ways to do this:
- For thin pieces, a hacksaw or metal cutting shears might work.
- For thicker pieces, an angle grinder or metal cutting blade is your best bet.
If you have access to a power tool, use it with caution. Always wear gloves and safety glasses when cutting. Also, clamp down your steel so it doesn’t move while you're working on it.
Tip: Make sure your cuts are straight and clean. It’ll make welding easier and give your project a better finish.
Step 3: Cleaning the Metal
Welding works best when the surfaces you’re joining are clean. Dirt, oil, rust, or even fingerprints can mess up your weld. Use a wire brush or sandpaper to clean both sides where the metal will meet.
This step is especially important for stainless steel spring wire, which is often used in DIY projects for its flexibility and strength. Spring wire can pick up oils from your hands or the factory. A good wipe with alcohol or acetone helps remove that grime before welding.
Step 4: Holding the Pieces in Place
Before you turn on the welding machine, use clamps to hold the steel pieces together. This keeps them from moving around during the process. Even a tiny movement can mess up your weld line.
Also, check that your pieces line up properly. Fixing crooked welds later is a pain, so take your time here.
Step 5: Let’s Weld!
Now comes the fun part.
Start by turning on your welder and adjusting the settings according to the thickness of your stainless steel. For home use, a small MIG or TIG welder is usually the go-to option, but don’t worry about the names. Just make sure you follow the instructions that come with your machine.
Here are a few simple tips while welding:
- Don’t stay in one spot too long. Move smoothly along the seam.
- Keep your hand steady, like you’re drawing with a pen.
- Listen for a steady “sizzle” sound. If it’s popping or going quiet, something might be off.
- Let the metal cool naturally after each pass.
If your steel starts turning blue or brown, you’re getting it too hot. This can weaken the metal and make it look messy. That’s why working slowly and letting it cool between steps helps a lot.
Step 6: Checking Your Weld
After you’re done, check the seam where you joined the metal. A good weld looks like a smooth row of little coins stacked together. If there are holes or bumps, you might need to go over it again.
Don’t be discouraged if it’s not perfect the first time. Even pros had to practice.
You can gently grind down rough spots with a grinder or sandpaper to make it look nicer. Just don’t grind too deep — you want the weld to stay strong.
Step 7: Polish and Protect
Once your weld is solid and cool, you can polish the stainless steel if you want it to look shiny again. Use a metal polish or a fine pad to clean up the surface.
Some people also use a reflective steel finish on their project. This gives it that mirror-like shine and also adds a protective layer. While this step is optional, it really makes your work stand out.
Just keep in mind — if you’re using something shiny like reflective steel in your project, fingerprints and smudges show up more easily. So wear gloves when handling it after polishing.
Safety First!
Let’s pause for a second and talk about safety.
Welding can be dangerous if you don’t protect yourself. Here’s what you should ALWAYS do:
- Wear a welding helmet. This protects your eyes from the bright light and flying sparks.
- Use gloves and long sleeves to protect your skin.
- Keep water or a fire extinguisher nearby.
- Don’t weld near anything flammable (like gas cans or piles of wood).
- Make sure the room has fresh air. Welding produces fumes you don’t want to breathe in.
If you’re using something like stainless steel spring wire, which is small and flexible, make sure it’s properly secured. Springy materials can snap back quickly and hurt your fingers.
Common Mistakes and How to Avoid Them
Welding at home comes with a learning curve. Here are a few common mistakes beginners make, and how to avoid them:
1. Overheating the metal
Too much heat warps the steel or burns holes in it. Keep your welder moving and take breaks to let the metal cool.
2. Not cleaning the surface
Greasy, dirty metal won’t weld well. Always clean your steel thoroughly before starting.
3. Bad positioning
If your hands or metal aren’t steady, your weld will be messy. Use clamps and practice your hand movements before firing up the welder.
4. Wrong size filler material
If you're using a welding rod or wire, make sure it matches the size and type of your stainless steel. For example, stainless steel spring wire used for light-duty repairs may not work for thicker materials.
Final Thoughts
Welding stainless steel at home is totally doable — even for beginners. All it takes is the right setup, some patience, and a focus on safety. You don’t need to be an expert or have a fancy workshop. You can start small, practice your skills, and slowly take on bigger and cooler projects.
Whether you’re making a simple garden stand, fixing a metal frame, or adding a piece of reflective steel to a DIY decoration, welding gives you the power to create and fix things in a way that lasts.
And don’t forget — learning how to cut stainless steel, clean it properly, and handle special pieces like stainless steel spring wire will help your welds look better and hold stronger.
Now it’s your turn. Get your tools, put on your helmet, and try it out!